A Practical Guide to Understanding the Engine Room of Rugby League
If you've ever watched an NRL match and wondered what the big blokes in the middle are actually doing—besides running into each other like human battering rams—you're not alone. The forward pack is the heartbeat of any rugby league team, and dominant forward performances have been a hallmark of successful NRL clubs.
Whether you're a new fan trying to figure out the difference between a prop and a second rower, a grassroots player looking to understand your role better, or a coach wanting to explain positions to your under-12s, this checklist will break down exactly what each forward position does, how they work together, and what makes a great one.
By the end of this guide, you'll be able to watch any NRL game and identify exactly what each forward is supposed to be doing—and spot when they're doing it well (or not).
What You'll Need
Before we dive into the nitty-gritty, here's what'll help you get the most out of this guide:
- A basic understanding of rugby league – You know what a try is, you've seen a tackle, you're good to go.
- Access to a game or highlights – Watch a forward pack in action to see these roles in real time.
- Patience – Forward play is subtle. It's not always flashy, but it's where games are won and lost.
- A notepad (optional) – Jot down key differences as we go. It helps.
Step 1: Understand the Forward Pack Structure
The forward pack consists of six players: two props, one hooker, two second rowers, and one lock (sometimes called a loose forward). For this guide, we're focusing on props, hookers, and second rowers—the core engine room.
The Forward Line-Up at a Glance
| Position | Number | Primary Role |
|---|---|---|
| Prop | 8 & 10 | Hit-ups, defence, go-forward |
| Hooker | 9 | Service from dummy-half, defence, organising |
| Second Rower | 11 & 12 | Edge running, defence, offloads |
| Lock | 13 | Middle third work, ball-playing, linking |
The props and hooker work in the middle third—the toughest, most physical part of the field. The second rowers operate slightly wider, often on the edges, combining forward grunt with backline agility.
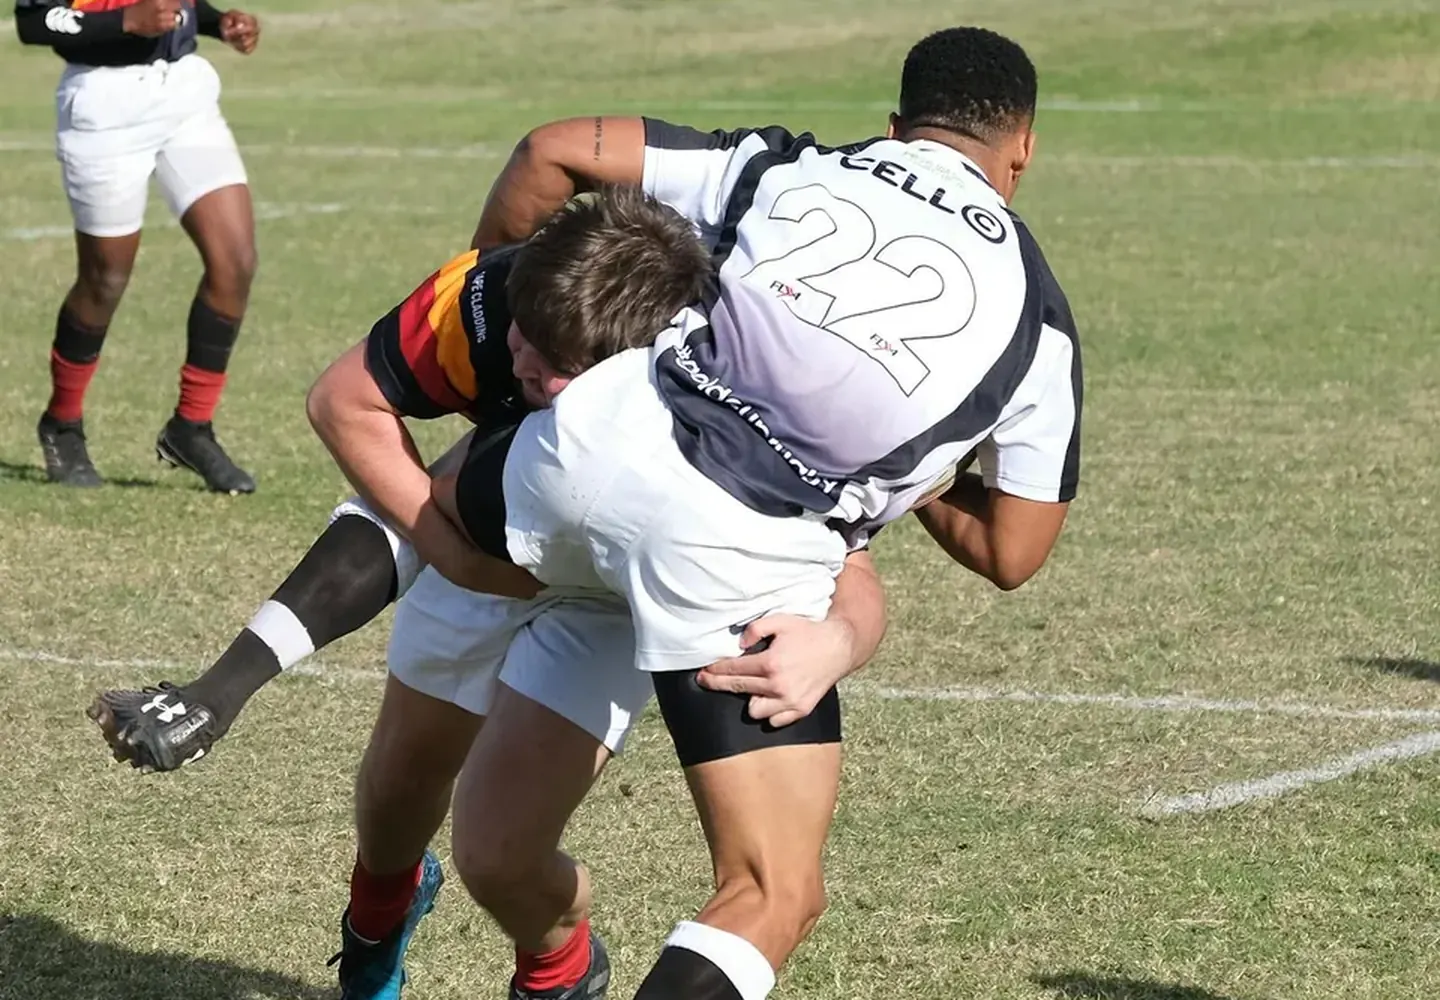
Step 2: Props (Number 8 and 10) – The Battering Rams
Props are the heavy artillery. They're usually the biggest, strongest players on the field, and their job is simple: run hard, tackle harder, and create momentum.
Key Responsibilities
1. Hit-ups and Go-Forward The prop's main job is to take the ball into the teeth of the defence, making metres and wearing down the opposition. Think of them as a human sledgehammer. When a prop winds up, the whole team feeds off that energy.
2. Defensive Work Props are expected to make many tackles per game, often against other big forwards. They're the first line of defence in the middle, and they need to slide as a unit with their fellow middles.
3. Post-Contact Metres A good prop doesn't just get tackled—they fight for extra metres after contact. This tires out defenders and creates momentum for the next play.
4. Offloads (When Possible) Modern props are increasingly expected to offload the ball in the tackle, keeping the play alive. But the priority is always making metres first.
What to Look For
- Running lines: Straight, hard, and direct. Props rarely run sideways.
- Defensive line speed: They should be moving up quickly to shut down space.
- Work rate: Great props keep coming all game, even when exhausted.
Common Mistakes
- Running sideways: Wastes energy and loses metres. Go straight.
- Missing tackles: A missed tackle in the middle opens a highway to the try line.
- Poor ball security: Props get stripped more than anyone. Protect the ball with two hands.
Step 3: Hooker (Number 9) – The Quarterback of the Pack
The hooker is the most influential forward on the field. They're the link between the forwards and backs, and they touch the ball more than almost anyone else.
Key Responsibilities
1. Service from Dummy-Half The hooker's primary job is to get the ball out of the ruck quickly and accurately to the halves or forwards. A slow or poor pass kills attacking momentum. Watch how a top hooker delivers crisp, flat passes to get the attack rolling.
2. Defensive Organisation Hookers direct the defensive line. They call out shifts, signal when to slide, and often make the first tackle in a set. They're the on-field coach.
3. Running from Dummy-Half A good hooker picks their moments to run. If the defence is slow to get up, they'll dart from the ruck and make easy metres. This keeps defenders honest.
4. Kick-Chase and Support Play Hookers are often the first player chasing a kick, and they're always looking to support a line break. They need good fitness and anticipation.
5. Decision-Making Under Pressure When to pass, when to run, when to kick—the hooker makes split-second decisions that shape the entire set.
What to Look For
- Pass speed: The ball should leave the ruck quickly.
- Running instincts: Does the hooker see gaps and take them?
- Defensive communication: Are they barking orders and pointing?
Common Mistakes
- Slow play-the-ball: Holding the ball too long gives defenders time to reset.
- Predictable running: If you always run on the same side, you'll get shut down.
- Overplaying hand: Sometimes the simple pass is the best option.
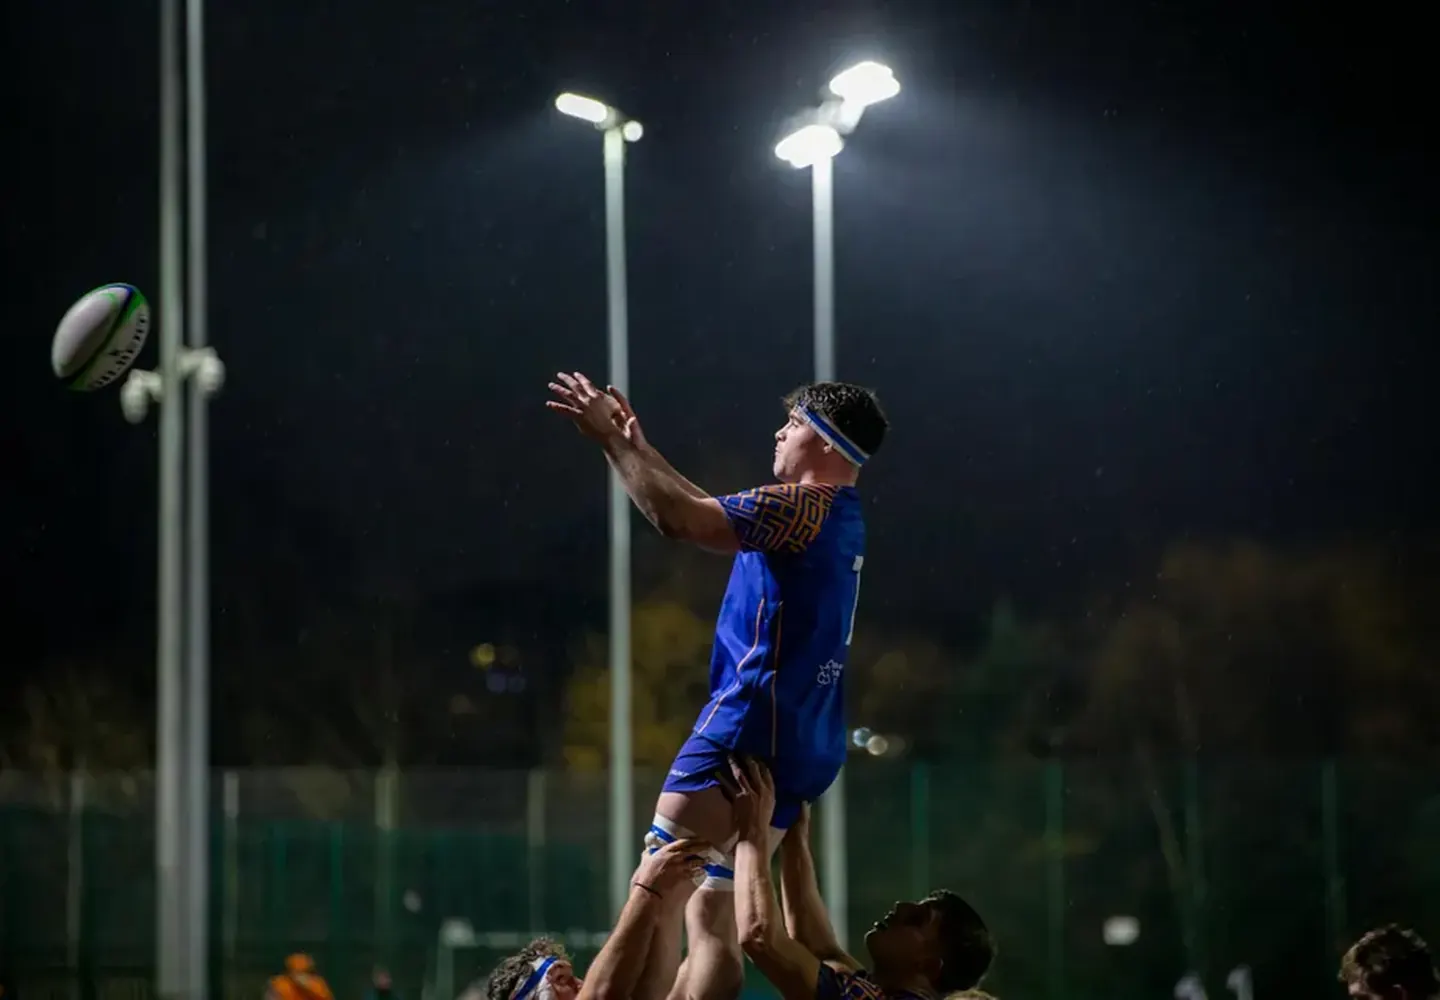
Step 4: Second Rowers (Number 11 and 12) – The Edge Workers
Second rowers are the hybrid athletes of the forward pack. They need the power of a prop but the mobility of a back. They operate on the edges of the ruck, combining defensive grit with attacking flair.
Key Responsibilities
1. Edge Defence Second rowers defend on the edges of the defensive line, often against the opposition's fastest players. They need to slide with the backline, make one-on-one tackles, and shut down overlaps.
2. Attacking Runs They take hit-ups wider than props, often hitting holes between the centre and winger. A good second rower runs hard lines, uses footwork, and looks for offloads.
3. Offloads and Link Play Second rowers are often the best offloaders in the pack. They keep the ball alive and create second-phase play, which is devastating for tired defences.
4. Kick-Chase and Support They're expected to chase kicks hard and support breaks. Their speed makes them dangerous in broken play.
5. Line-Breaking Ability The best second rowers can break the line and run many metres. They're a genuine attacking threat.
What to Look For
- Running angles: They should hit gaps, not just run into defenders.
- Defensive positioning: Are they sliding correctly with the backline?
- Offload timing: Are they drawing the defender before releasing the ball?
Common Mistakes
- Drifting infield: Second rowers who get sucked into the middle leave their winger isolated.
- Poor tackle technique: Edge defenders can't afford to miss—there's no cover.
- Not running hard lines: Lazy running means no gaps open up.
Step 5: How the Forward Pack Works Together
The magic happens when all three positions work as a unit. Here's how it looks in a typical set:
- First tackle: Prop takes a hard hit-up to start the set.
- Second tackle: Second rower runs a wide line, looking for an offload.
- Third tackle: Hooker darts from dummy-half if the defence is slow.
- Fourth tackle: Prop takes another hit-up to build momentum.
- Fifth tackle: The halves get clean ball to kick or attack.
Pro Tips for Forwards (and Those Coaching Them)
For Props
- Build your cardio: You'll run more than you think. Get fit.
- Protect the ball: Two hands on the ball in traffic. Always.
- Lead by example: Your work rate sets the tone for the whole team.
For Hookers
- Practice your pass: Every day. It's your most important weapon.
- Read the ruck: Know when to run, when to pass, when to kick.
- Communicate constantly: You're the on-field general.
For Second Rowers
- Work on your footwork: A good step creates gaps.
- Master the offload: It's your point of difference.
- Defend smart: You're the last line on the edge.
Common Mistakes Across All Positions
- Not staying square in defence: Angled defenders get beaten easily.
- Dropping the ball: Forwards get stripped more than backs. Grip it tight.
- Not chasing kicks: The best forwards work hard off the ball.
Checklist Summary
Here's your quick-reference checklist for understanding and executing forward roles:
Props
- Run straight and hard at the defence
- Make many tackles per game
- Fight for post-contact metres
- Protect the ball with two hands
- Lead the defensive line speed
Hookers
- Deliver fast, accurate passes from dummy-half
- Organise the defensive line
- Pick smart running opportunities
- Support kicks and breaks
- Communicate constantly with the team
Second Rowers
- Run hard lines on the edges
- Defend one-on-one on the edge
- Look for offloads and second-phase play
- Chase kicks and support breaks
- Slide correctly with the backline
The Forward Pack as a Unit
- Build momentum through the middle
- Create space for the backs
- Communicate defensive shifts
- Work together to tire out the opposition
- Celebrate the grind—forward play wins premierships
Want to Learn More?
If you're hungry for more rugby league knowledge, check out these guides:
- Key Player Positions – A complete breakdown of every position on the field.
- AFL Rules Overview – Not sure how Aussie Rules compares? We've got you covered.
- Rules Basics – Start here if you're brand new to the game.
Final Word
Understanding forward roles is the key to appreciating the real contest in rugby league. While the flashy tries and sideline runs get the highlights, it's the props, hookers, and second rowers doing the dirty work that set it all up.
Next time you're watching a game, keep your eyes on the middle. Watch how the forwards set the platform. Watch how they communicate, how they work together, and how they grind down the opposition. That's where the game is won.
And if you're a player yourself, take this checklist to training. Nail the fundamentals, and you'll be the forward everyone wants on their team.
Now get out there and do the hard stuff. The glory follows.
Reader Comments (7)