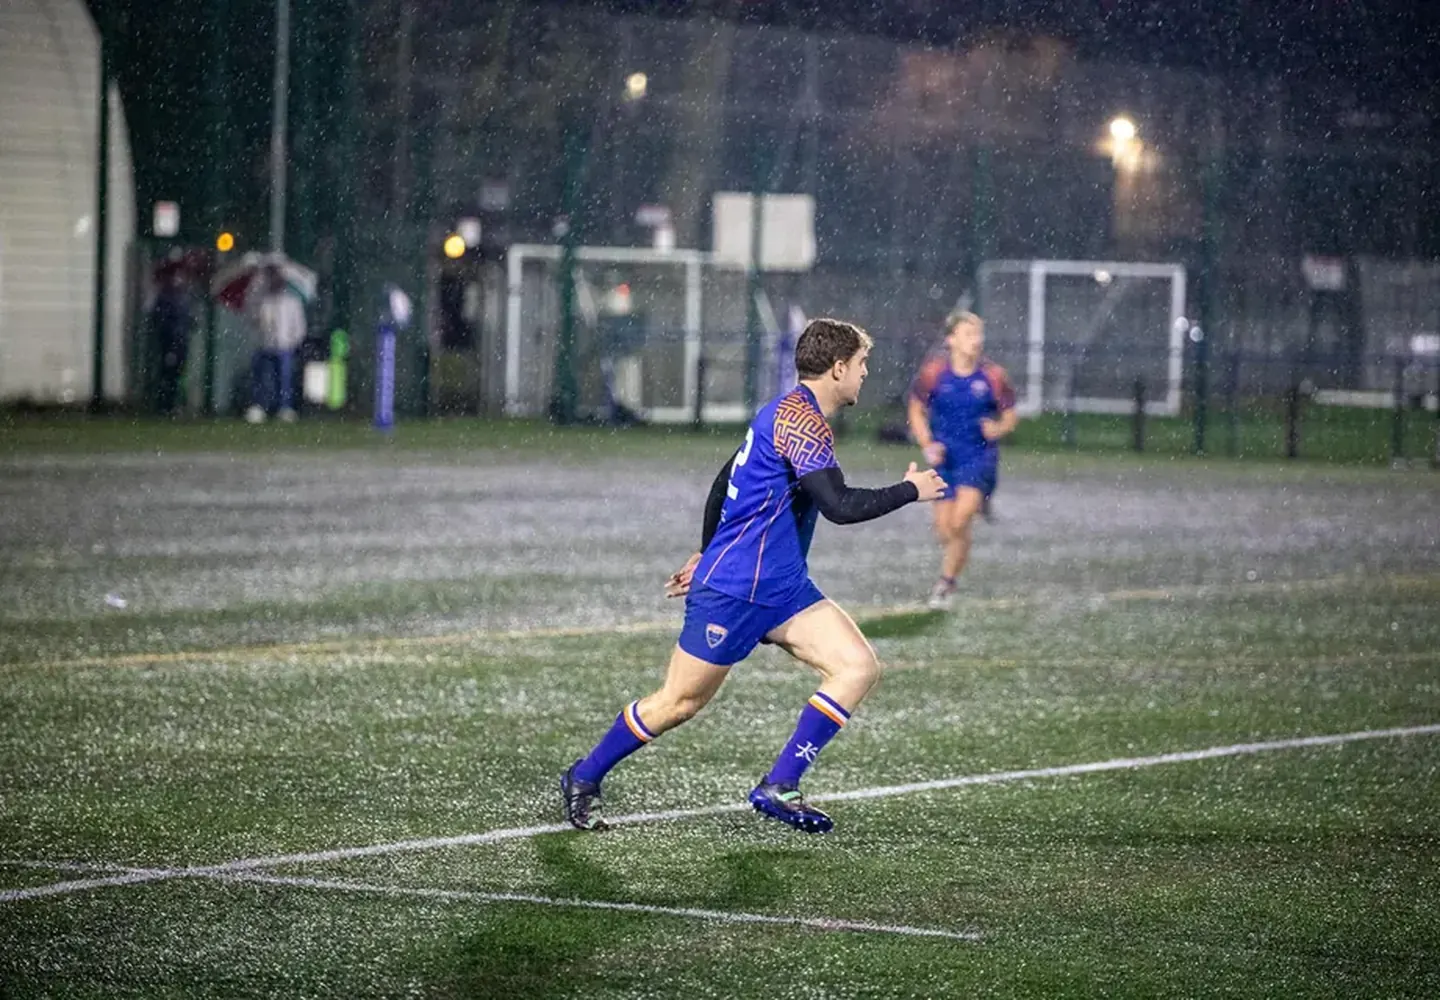
Every footy fan knows the feeling: the siren is about to sound, the scores are level, and your team has a penalty goal opportunity from 35 metres out, slightly to the left. The entire crowd holds its breath. Whether you're a junior player at your local club, a grassroots coach looking to improve your side's conversion rate, or simply a passionate supporter wanting to understand what goes through a kicker's mind when they line up a shot, this guide is for you.
Set shot kicking in rugby league is both an art and a science. While the game has seen some of the most clutch goal-kickers in history—think of those match-winning conversions—many players at all levels struggle with consistency. This practical checklist will break down the exact process used by elite kickers, from pre-kick routine to follow-through, giving you a repeatable system to improve your own goal-kicking or to coach your players more effectively.
By the end of this article, you'll have a clear, step-by-step checklist that covers every element of a successful set shot. You'll also learn the most common mistakes that cost supporters their nails on game day, and how to avoid them.
What You'll Need
Before we dive into the steps, make sure you have the following:
- A regulation football (size 5 for adults, size 4 or 3 for juniors)
- A set of goalposts (or a marked target on a wall if practising at the local park)
- Training cones or markers to simulate the 10-metre line and the position of the defensive line
- A kicking tee (optional for beginners; advanced kickers often prefer to kick from the ground)
- A notebook or phone to record your practice results
- Appropriate footwear (see our guide on recommended boots for grip and stability)
- A practice partner or coach to provide feedback on technique
Step-by-Step Set Shot Kicking Process
Step 1: Establish Your Pre-Kick Routine
Every elite kicker has a consistent pre-kick routine. This is non-negotiable. Your routine serves two purposes: it calms your nervous system and it creates a repeatable trigger that tells your brain "it's time to perform."
How to do it:
- Take three slow, deep breaths while looking at the posts.
- Visualise the ball splitting the uprights from your chosen angle.
- Walk back from the mark the same number of steps every time (typically three to five steps).
- Take one or two practice swings of your kicking leg.
- Set the ball on the tee or on the ground exactly as you have practised a thousand times.
Pro tip: Practise your routine without a ball first. Stand at the mark, go through the breaths, the visualisation, the walk-back, and the practice swings. Do this ten times before you even kick a ball. This builds the neural pathway.
Step 2: Assess the Conditions and Angle
Before you approach the ball, you need to read the environment. This is where many junior players lose points unnecessarily.
What to check:
- Wind direction: Look at the flags on top of the posts, feel the breeze on your face, or watch how the grass moves. If the wind is blowing from left to right, aim slightly left of centre.
- Sun position: If the sun is in your eyes, adjust your approach angle. Do not squint; it affects your head position and balance.
- Ground surface: Is the grass long? Is the ground soft from rain? At a professional stadium, the surface is pristine, but at your local ground, you might be kicking from a divot. If the ground is uneven, you may need to place the ball slightly differently or use a tee.
- Distance and angle: A kick from directly in front is different from a kick near the sideline. For tight angles, you need to swing the ball more aggressively from the outside of your foot.

Step 3: Set Your Stance and Ball Position
Your body position at address determines everything that follows. Get this wrong, and your kick will be inconsistent.
The correct setup:
- Stand with your non-kicking foot (plant foot) alongside the ball, pointing directly at your target.
- Your shoulders should be square to the posts, not open or closed.
- The ball should be positioned slightly in front of your plant foot, not directly beside it. This allows your kicking leg to swing through naturally.
- Your weight should be on the balls of your feet, with a slight bend in your plant leg knee.
- Your head should be down, eyes fixed on the exact spot on the ball you intend to strike.
Step 4: The Approach and Plant
Now you move from your static position into the kicking motion. This is where rhythm matters most.
The approach:
- Take your pre-determined number of steps (usually two to three). These should be smooth and accelerating, not rushed.
- Your final step (the plant step) should be a long, decisive stride that lands your plant foot firmly beside the ball.
- Your plant foot should be pointing exactly where you want the ball to go. If your foot points left, the ball goes left. If it points right, the ball goes right.
- As your plant foot hits the ground, your kicking leg is already beginning its backswing.
- Your arms should be out to the sides for balance—think of a tightrope walker.
- Your head must remain down. Do not look up to see where the ball is going until after you've kicked it. This is the number one mistake in junior and grassroots footy.
Step 5: The Strike and Follow-Through
This is the moment of truth. Your kicking leg swings through, and your foot makes contact with the ball.
The strike:
- Strike the ball with the instep of your foot (the laces area). This is the same contact point used for drop punts in general play.
- For a set shot, you want to hit slightly below the centre of the ball to create elevation. Too low and it goes high but short; too high and it stays low and may hit the crossbar.
- Your ankle should be locked and pointed down (like a ballet dancer's foot), not relaxed.
- Your kicking leg should continue its swing upward and across your body.
- Your chest should remain facing the posts, not turning away.
- Your arms should come in toward your body as you follow through, helping with balance.
- Your head should still be down until the follow-through is complete.
Step 6: Watch and Adjust
After the kick, you can finally look up. But your job isn't done yet.
What to do:
- Watch the ball's flight path. Did it start straight and then fade? Did it hook? This tells you what you did wrong.
- If the ball missed, mentally note what happened: "I pulled my head up" or "I opened my shoulders too early."
- If the kick was successful, remember exactly how that felt. Replay the successful feeling in your mind.
Pro Tips for Players
The Wind Adjustment
Kicking at a stadium can present unique challenges: the wind can be fickle, swirling around the stands. When practising, spend extra time kicking from both sides of the field in different wind conditions. Learn to feel the wind on your face and compensate before you start your approach.The Pressure Simulation
A big game is played at a different intensity than a Tuesday night training session. To prepare for pressure, simulate game situations:- Have a teammate count down from five seconds (as the shot clock would)
- Practise after doing intense conditioning work (sprints, tackles) to simulate fatigue
- Have teammates shout and distract you (within legal limits)
The Two-Kick Rule
In professional rugby league, you rarely get a second chance. But in training, you should never kick the same shot twice in a row from the same spot. Move around the arc: kick from in front, then from the left sideline, then from the right. This forces your body to adjust to different angles and distances, which is exactly what happens in a match.The Mental Game
Goal-kicking is 80% mental and 20% technical. If you miss two in a row, do not change your technique. Change your mindset. Take an extra breath. Remind yourself of a successful kick you made earlier. Panic leads to rushed technique, which leads to more misses.Common Mistakes to Avoid
- Looking up too early: This is the most common error at all levels. Your head should stay down until after the ball has left your foot. If you look up to see the result, your shoulders open, and the ball goes wide.
- Inconsistent ball placement: If you place the ball differently every time—sometimes forward, sometimes beside your foot—your body cannot develop a consistent swing. Always place it in the same spot relative to your plant foot.
- Rushing the routine: Under pressure, players often speed up their pre-kick routine. This defeats the purpose. The routine is there to calm you down, not to get you to the kick faster.
- Ignoring the wind: Many junior players kick the same way regardless of conditions. Learn to read the wind and adjust your aim point accordingly.
- Poor plant foot alignment: If your plant foot points at the left upright, your ball will go left. Check your foot alignment every single time.
- Overthinking technique during a match: In training, you analyse every detail. In a match, you trust your training. Do not try to "fix" your technique during a game. Stick to your routine and execute.
The Complete Set Shot Kicking Checklist
Use this checklist before every practice session and before every game-day kick. Print it out, put it in your kit bag, and tick off each item.
Pre-Kick Routine
- Take three deep breaths
- Visualise the ball going through the posts
- Walk back the same number of steps (3–5)
- Take two practice swings
- Set the ball in the same position every time
Environment Check
- Assess wind direction and speed
- Check sun position
- Evaluate ground surface and condition
- Note distance and angle to posts
Setup
- Plant foot beside ball, pointing at target
- Shoulders square to posts
- Ball 15–20 cm in front of plant foot
- Weight on balls of feet
- Head down, eyes on ball
Approach and Strike
- Smooth, accelerating approach steps
- Long, decisive plant step
- Locked ankle, pointed foot
- Strike below centre of ball with instep
- Full follow-through upward and across body
- Head stays down until follow-through complete
Post-Kick
- Watch ball flight and note result
- Mentally record what worked or didn't
- Adjust for next kick if needed
Taking It Further
If you're serious about improving your goal-kicking, combine this checklist with a structured training program. Set a target: 20 successful kicks from various positions before you finish a session. Track your percentage over time.
For coaches, incorporate this checklist into your team's weekly training. Have players pair up and watch each other's technique, ticking off the checklist as they go. This builds accountability and reinforces good habits.
Parents of junior players: use this checklist at home in the backyard. Make it fun by setting up challenges—"Can you make five in a row from the right side?"—and reward consistency, not just success.
For more tactical insights and skill development, explore our guides on the scoring system to understand the full value of conversions and penalty goals, and learn from common tactical mistakes that cost teams games.
If you're coaching juniors, our junior player skills checklist covers the fundamental kicking techniques every young player should master before moving to advanced goal-kicking.
And remember, no amount of technical skill matters if your body isn't conditioned to perform under fatigue. Our fitness conditioning program will help you build the stamina to maintain your technique deep into the second half of a tight contest.
The next time you're at the stadium, or watching from your lounge room as a team lines up a critical kick in the dying minutes, you'll know exactly what goes through the kicker's mind. More importantly, you'll have the tools to go out and do it yourself. Now get out there, set your tee, take your breaths, and split the uprights.
Reader Comments (0)