Aussie Rules Rules & Positions Explained
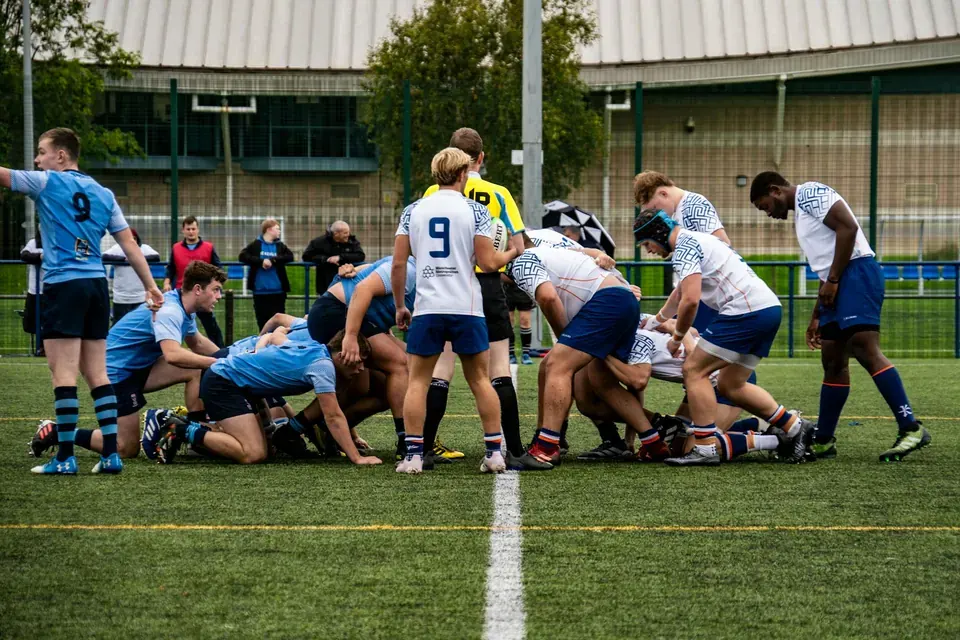
Scrums and Play-the-Ball: Key Mechanics
Scrums and Play-the-Ball: Key Mechanics For anyone new to Australian rules football—or even seasoned fans looking to deepen their understand…
Aussie Rules Rules & Positions Explained
Scrums and Play-the-Ball: Key Mechanics For anyone new to Australian rules football—or even seasoned fans looking to deepen their understand…
Line Dropout Procedures Explained In Australian rules football, few moments shift momentum quite like a line dropout. For the uninitiated, i…
NRL Marker Defence Rules: Offside, Stripping, and Pressure G’day, footy fans! If you’ve ever watched an NRL match and wondered why the defen…

Rugby League Terminology: A Complete Glossary Welcome to the Sydney Roosters site—your go-to for all things NRL, from the Chooks at Allianz…

Junior Footy Modifications: A Complete Rules Checklist So you’ve got a young footy fan at home who’s keen to pull on the boots and join a lo…

Touch Rugby League: Rules and Variations For followers of the Sydney Roosters and the broader National Rugby League community, understanding…
Score Review System: A Guide for AFL Fans Let's be honest—nothing kills the buzz of a big game faster than when the score review gets involv…

Discipline and Sin Bin Rules: Sending Off and Penalties A Practical Troubleshooting Guide for Football Fans Let’s be honest—discipline rules…

Forward Roles: Props, Hookers, and Second Rowers A Practical Guide to Understanding the Engine Room of Rugby League If you've ever watched a…

Sin Bins and Send-Offs: Disciplinary Actions – A Troubleshooting Guide Alright, footy fans, let’s talk about one of the most confusing momen…

Obstruction Rules: Blocking and Shepherding in Australian Rules Football Australian Rules football is a game of speed, precision, and contes…

Field Dimensions and Markings Guide Welcome to the Aussie Rules glossary, where we break down the unique lingo of our great game. Whether yo…