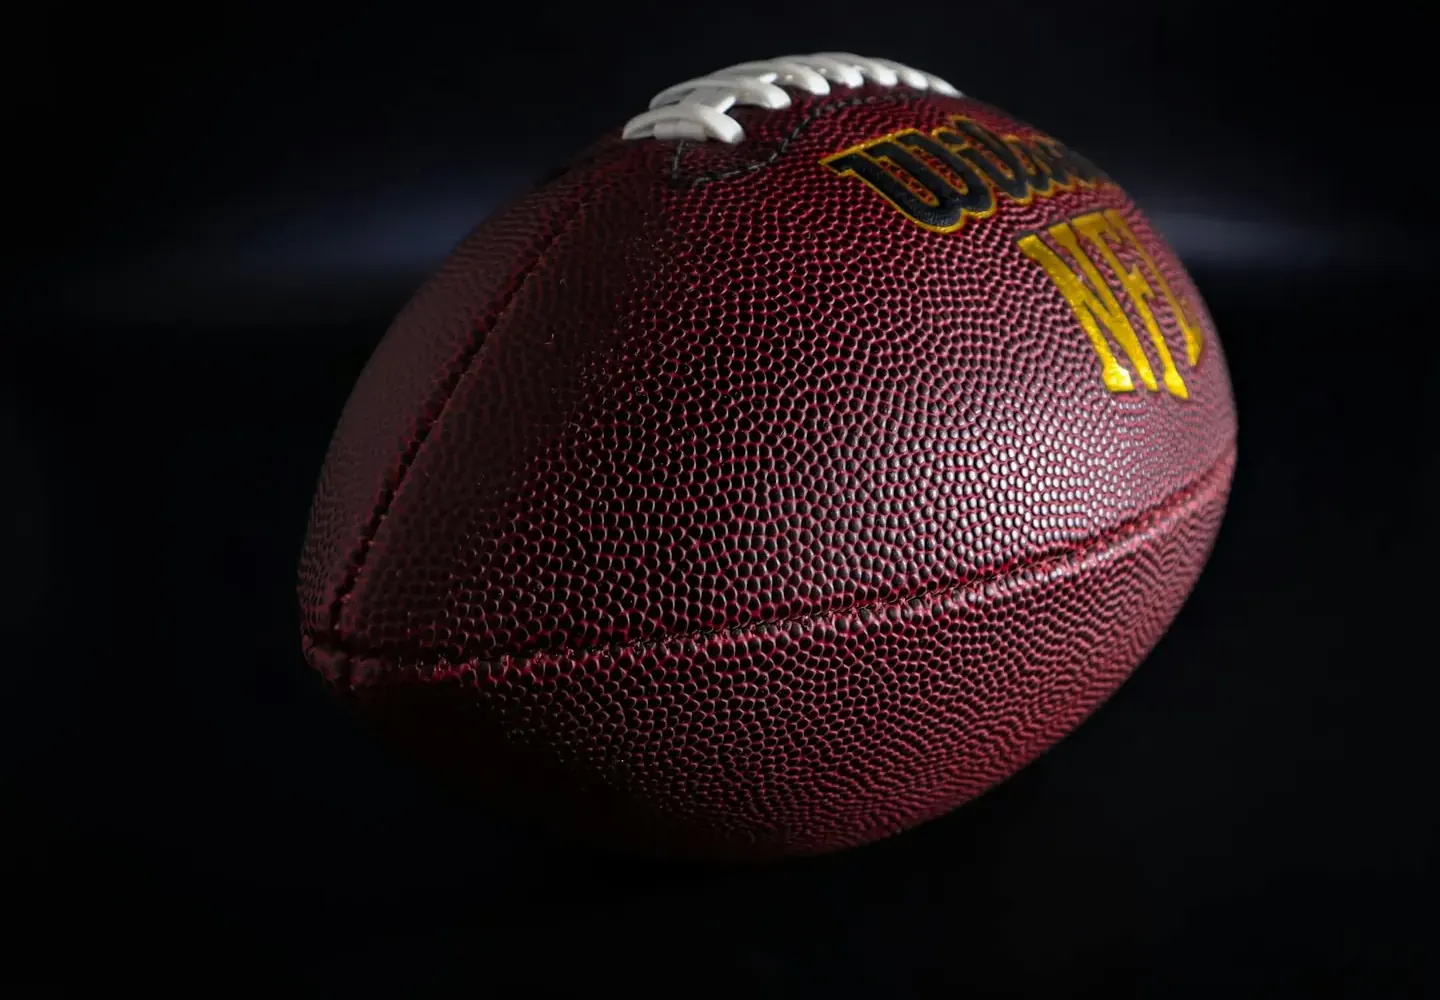
Let’s be honest—there’s nothing quite like the smell of a well-worn jersey after a hard session. But that earthy aroma, mixed with sweat, mud, and the occasional grass stain, isn’t just a badge of honour. It’s also a breeding ground for bacteria, fungi, and odours that can turn your favourite playing kit into a biohazard.
Whether you’re a junior player just starting out, a weekend warrior pulling on the strip for a social game, or a parent trying to keep your kid’s gear from taking over the laundry, you’ve probably faced the same problems: stubborn stains that won’t budge, helmets that smell like last week’s tackle, and boots that feel more like sponges than footwear.
This troubleshooting guide is here to help. We’ll walk you through the most common gear cleaning and disinfection headaches, show you how to fix them step by step, and share some prevention tips so your gear stays fresh longer. No fancy jargon, just practical advice that works for the real world of Australian rules football.
Let’s dive in.
Problem 1: The Smell That Won’t Quit
Symptoms: Your jersey or training shorts have a lingering odour that survives multiple washes. Even after a hot cycle with detergent, that sweaty, musty smell lingers. You’ve tried airing it out, but nothing seems to work.
Causes: Sweat and bacteria get trapped in synthetic fabrics like polyester and nylon, which are common in modern playing kits. Over time, these materials develop a biofilm—a thin layer of bacteria that clings to the fibres. Regular detergent can’t always break it down, especially if you’re using cold water or short cycles.
Solution:
- Pre-soak with vinegar. Fill a bucket or your washing machine with cold water and add one cup of white vinegar. Soak the gear for 30 minutes before washing. Vinegar is a natural deodoriser and helps break down the biofilm.
- Use a sports-specific detergent. These are formulated to tackle sweat and bacteria. Look for enzyme-based options that target organic stains.
- Add baking soda to the wash. Half a cup of baking soda in the drum helps neutralise odours without damaging the fabric.
- Avoid fabric softener. It coats synthetic fibres, trapping bacteria and making smells worse. Instead, use a cup of white vinegar in the rinse cycle as a natural softener.
- Dry thoroughly. Hang your gear in direct sunlight if possible. UV rays are a natural disinfectant. If drying indoors, use a well-ventilated area and avoid damp spaces.
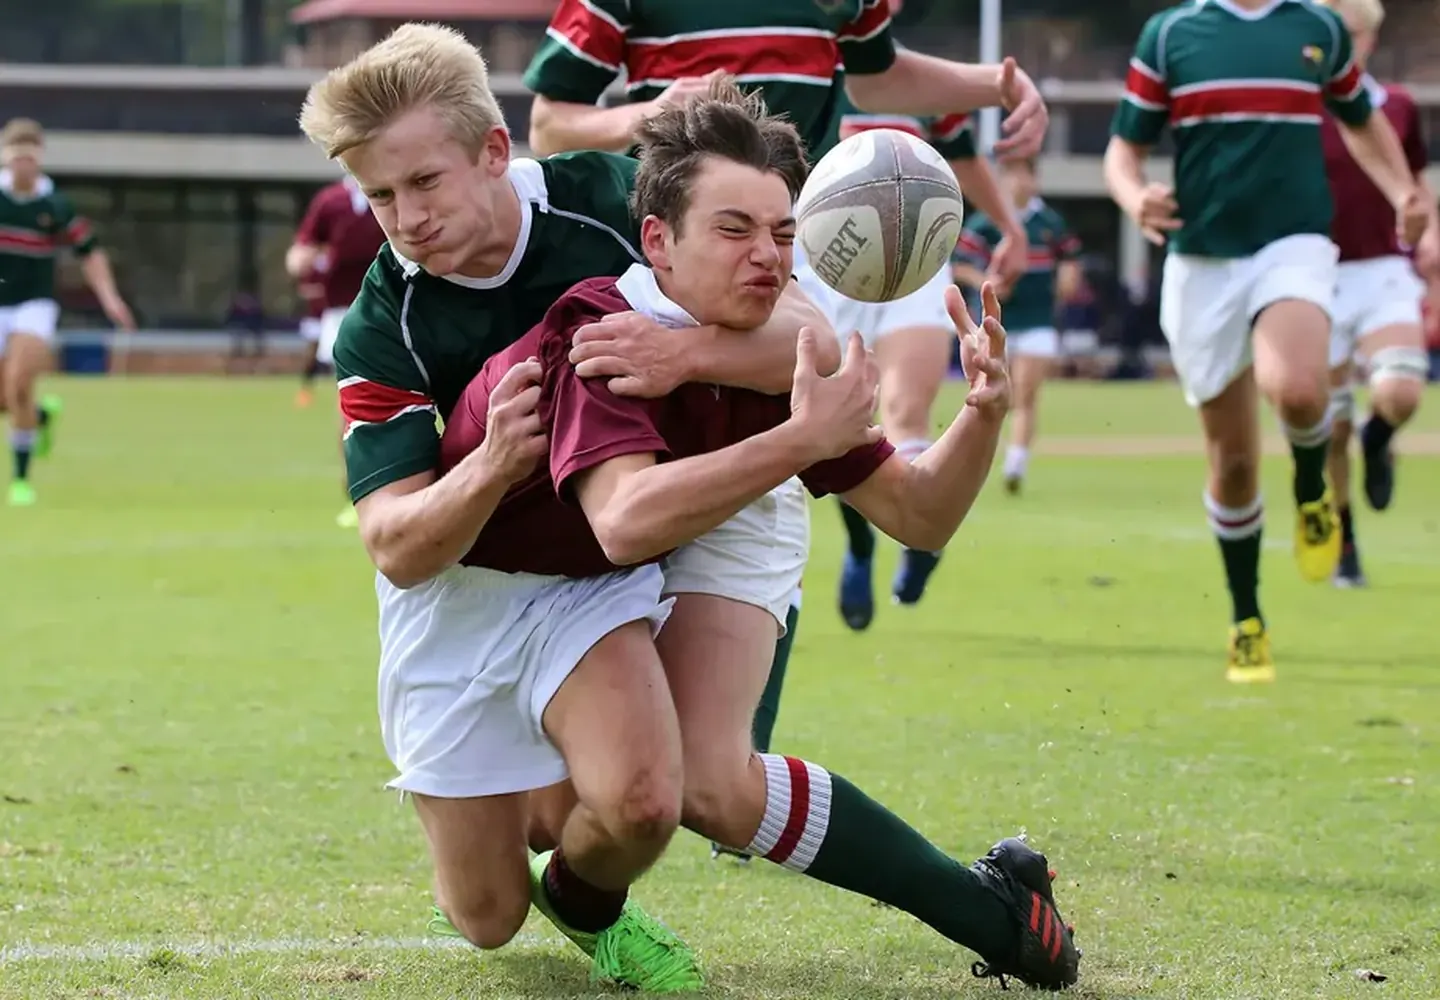
Problem 2: Mud and Grass Stains That Just Won’t Come Out
Symptoms: After a muddy game or a training session at the local park, your white jersey looks like it’s been through a war zone. Grass stains, mud, and dirt are baked into the fabric, and your regular wash barely makes a dent.
Causes: Grass stains contain chlorophyll, which binds to fabric fibres. Mud can contain clay and minerals that settle deep into the weave. If you let stains dry or set in the dryer, they become much harder to remove.
Solution:
- Act fast. As soon as you finish the game, rinse the gear with cold water to remove loose dirt. Don’t use hot water—it can set stains.
- Pre-treat with dish soap. Apply a small amount of liquid dish soap directly to the stain. Gently rub it in with your fingers or a soft brush. Let it sit for 10–15 minutes.
- Use a stain remover. A sports stain remover or a paste made from baking soda and water works well. Apply, let sit for 30 minutes, then wash.
- Wash in cold water. Hot water sets protein-based stains like grass. Cold water is your friend here.
- Check before drying. After washing, inspect the stain. If it’s still visible, repeat the pre-treatment and wash again. Never put stained gear in the dryer—heat locks the stain in permanently.
Problem 3: Helmet and Headgear Odour and Discoloration
Symptoms: Your headgear or helmet pads smell like a sweaty locker room. The foam inside is starting to yellow or feel crusty. You’ve tried wiping it down, but the smell persists.
Causes: Headgear absorbs sweat, oils, and bacteria from your scalp. The foam padding and synthetic leather don’t breathe well, creating a damp environment where bacteria thrive. Over time, this leads to odour and discolouration.
Solution:
- Remove removable pads. If your headgear has detachable padding, take it out and wash it separately in cold water with a mild detergent.
- Hand wash the shell. Use a soft cloth or sponge with warm, soapy water. Avoid harsh chemicals like bleach, which can damage the material. Focus on the inner lining and straps.
- Disinfect with a vinegar solution. Mix one part white vinegar with three parts water. Dampen a cloth with the solution and wipe down all surfaces. Let it air dry completely.
- Use a helmet deodoriser spray. There are sprays specifically designed for sports gear. Look for ones with antibacterial properties.
- Dry thoroughly. Never store your headgear in a damp bag. After cleaning, let it air dry in a well-ventilated area away from direct heat.
Problem 4: Boots That Smell Like a Swamp
Symptoms: Your football boots have a strong, unpleasant odour that’s noticeable even when they’re not on your feet. The insoles are starting to break down, and the inside feels damp.
Causes: Boots are enclosed, dark, and warm—perfect conditions for bacteria and fungi. Sweat soaks into the lining and insole, and if you don’t let them dry properly between uses, the smell gets worse.
Solution:
- Remove insoles after every use. Take them out and let them air dry separately. If they’re washable, rinse them with cold water and mild soap.
- Stuff boots with newspaper. After a game, crumple newspaper and stuff it inside each boot. It absorbs moisture and helps them dry faster. Replace the newspaper after a few hours.
- Use a boot dryer. If you play frequently, invest in a dedicated boot dryer. It circulates air inside the boot without heat, preventing damage while drying them out.
- Disinfect with a spray. A 50/50 mix of water and rubbing alcohol in a spray bottle works as a disinfectant. Spray the inside lightly after cleaning, then let air dry.
- Rotate boots if possible. Having two pairs allows one to dry completely while you use the other. This extends the life of both pairs.
Problem 5: Jersey Numbers and Logos Peeling or Cracking
Symptoms: The printed numbers on your jersey are starting to peel at the edges, or the club logo is cracking. You’ve washed it a few times, and now it looks faded or damaged.
Causes: Heat is the main culprit. Hot water, high-heat drying, and ironing can break down the adhesive on heat-pressed numbers and logos. Aggressive washing with harsh detergents can also cause damage.
Solution:
- Wash inside out. Turn the jersey inside out before washing. This protects the printed areas from friction.
- Use cold water and gentle cycle. Hot water weakens the adhesive. Cold water is safer and still cleans effectively.
- Skip the dryer. Air dry your jersey flat or on a hanger. Heat from the dryer can cause peeling and cracking. If you must use a dryer, use the lowest heat setting and remove the jersey while still slightly damp.
- Avoid ironing directly. If you need to remove wrinkles, iron the jersey inside out on a low setting, or use a steamer. Never iron directly over the numbers or logos.
- Store properly. Fold your jersey rather than hanging it on a thin hanger, which can stretch the fabric and stress the prints.
Problem 6: Shorts and Socks That Lose Elasticity
Symptoms: Your playing shorts or socks are starting to sag. The waistband feels loose, and the socks won’t stay up during a game. They look worn out even though they’re relatively new.

Causes: Elastic fibres break down over time, especially when exposed to heat, chlorine (if you swim in them), or harsh detergents. Frequent washing in hot water and high-heat drying accelerate this process.
Solution:
- Wash in cold water. Cold water is gentler on elastic fibres. Use a mild detergent.
- Air dry only. Heat is the enemy of elastic. Hang shorts and socks to dry, or lay them flat. Avoid the dryer entirely.
- Avoid bleach. Chlorine bleach is particularly damaging to elastic. If you need to whiten socks, use oxygen-based bleach (like OxiClean) instead.
- Don’t wring them out. After washing, gently squeeze out excess water. Wringing can stretch and damage the fibres.
- Replace when needed. Even with the best care, elastic eventually wears out. If your gear is sagging and affecting your performance or comfort, it’s time for a replacement.
Problem 7: Gear Bag That Smells Like a Locker Room
Symptoms: Your gear bag has a persistent odour that seems to transfer to everything inside it. Even after you’ve cleaned your gear, the bag itself smells.
Causes: Damp gear left in a closed bag creates a breeding ground for bacteria and mould. Over time, the bag’s fabric absorbs these odours, and they become embedded.
Solution:
- Empty the bag after every use. Never leave wet gear in the bag overnight. Take everything out and let the bag air out.
- Wash the bag. If it’s machine washable, wash it on a gentle cycle with cold water and mild detergent. Air dry completely.
- Use a disinfecting spray. A mixture of water and white vinegar (or a commercial fabric disinfectant) can be sprayed inside the bag. Let it dry in the sun.
- Add a deodoriser. Place a charcoal bag or a dryer sheet inside the bag when not in use. These absorb odours naturally.
- Store with the zipper open. When not in use, keep the bag unzipped to allow airflow. Avoid storing it in a damp place like a garage or basement.
Prevention Tips
- Wash gear immediately after use. Don’t let sweat and dirt sit for hours. Rinse with cold water if you can’t wash right away.
- Use a mesh laundry bag. This protects your gear from excessive friction in the wash and helps it dry faster.
- Rotate your gear. Having two sets of jerseys, shorts, and socks means you’re never wearing damp or poorly cleaned gear.
- Store gear in a cool, dry place. Avoid leaving it in a hot car or a damp locker room.
- Invest in quality gear. Higher-quality materials often hold up better to cleaning and disinfecting. Look for antimicrobial treatments if possible.
When to Seek Professional Help
Most gear cleaning issues can be handled at home with the right techniques. However, there are times when you should consider professional help:
- Persistent odours despite thorough cleaning. If your gear still smells after multiple treatments, it may have deep-set bacteria or mould that requires professional cleaning or replacement.
- Damage to heat-pressed logos or numbers. If the damage is extensive, a professional sports gear repair service can reapply or replace prints.
- Headgear or helmet structural damage. If the foam padding is crumbling or the shell has cracks, don’t try to fix it yourself. Replace it for safety reasons.
- Allergic reactions or skin irritation. If you or your child develops rashes or irritation that seems linked to gear, consult a doctor. It could be a reaction to a cleaning product or a bacterial infection.
Keeping your Australian rules football gear clean and disinfected isn’t just about looking good on the field—it’s about hygiene, performance, and longevity. Whether you’re chasing a premiership or just enjoying a weekend game with mates, a little extra care goes a long way.
Got a gear cleaning tip of your own? Share it with the community. And if you’re looking for more player development advice, check out our guides on player development gear, tackling safety for junior players, and fitness conditioning programs.
Now, go wash that jersey—and get ready for the next game.
Reader Comments (0)