
Look, we all know that feeling. You’ve given everything on the field—whether it’s a full 80 minutes for the Roosters or a spirited local derby on a Saturday arvo. Your muscles are screaming, your hamstrings are tight, and the thought of getting out of bed tomorrow is genuinely terrifying. Sound familiar?
Here’s the thing: recovery isn’t just about ice baths and protein shakes. Stretching is the unsung hero of any rugby league player’s week. The best players in the NRL—think of those gliding through defensive lines or pulling the strings—don’t just rely on talent. They rely on consistent recovery routines that keep their bodies primed for the next hit-out.
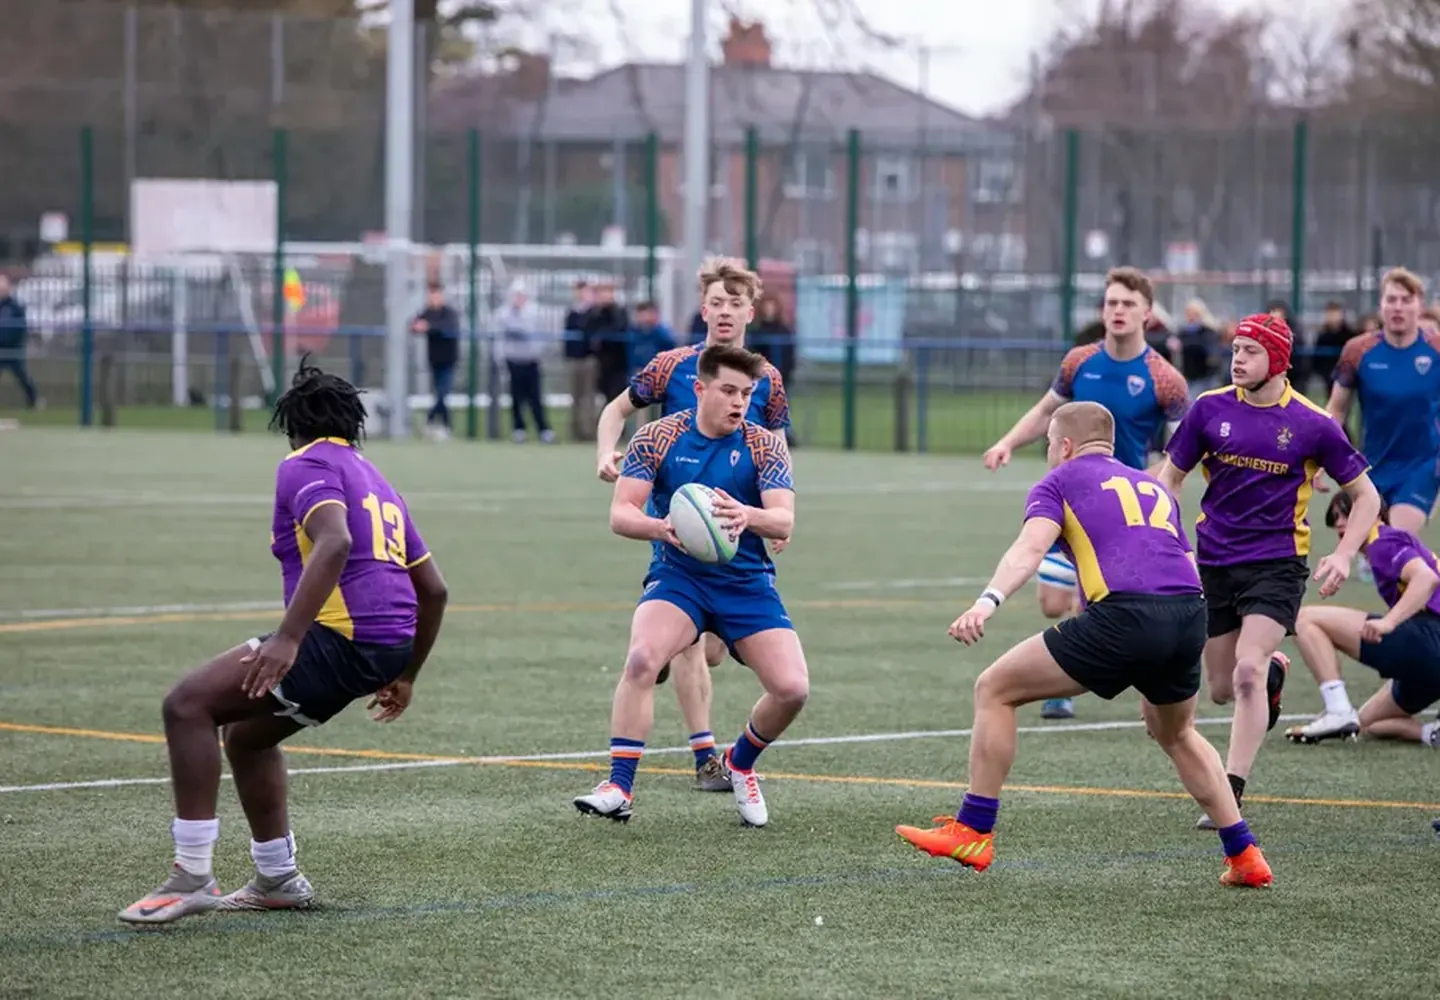
This checklist is your practical, no-nonsense guide to a rugby league recovery stretching routine. Whether you’re a junior player dreaming of running out at Allianz Stadium, a grassroots coach looking after your squad, or a parent helping your kid recover after a big game, these steps are for you. We’re keeping it realistic, safe, and effective.
Let’s get into it.
What You’ll Need
Before we start, let’s get the basics sorted. You don’t need a fancy gym or a sports scientist on speed dial. Here’s your kit:
- A towel or yoga mat – Something comfortable to lie on.
- Comfortable clothing – Loose shorts and a t-shirt. Nothing restrictive.
- Water bottle – Hydration matters during stretching too.
- A timer or phone – For holding stretches. No cheating!
- A wall or sturdy chair – For balance and support.
- Foam roller (optional but recommended) – Great for releasing tight knots before stretching.
- A quiet space – Even 10 minutes without distractions makes a difference.
Step-by-Step Recovery Stretching Routine
Step 1: The Cool-Down Walk (5 minutes)
You’ve just finished training or a game. Your heart rate is still elevated, and your muscles are warm. Don’t drop to the ground immediately.
What to do: Walk slowly around the field or change room for 3–5 minutes. Gentle movement helps flush out lactic acid and gradually lowers your heart rate. Think of it as the bridge between full intensity and stillness.
Why it matters: This prevents blood pooling in your legs and reduces that next-day stiffness that makes stairs your worst enemy.
Step 2: Quad Stretch – The Forward Runner’s Friend
Your quads take a beating in rugby league. Every sprint, every tackle, every explosive movement starts here.
What to do:
- Stand tall, holding onto a wall or chair for balance.
- Bend your right knee, bringing your heel toward your glutes.
- Grab your right ankle with your right hand.
- Keep your knees together and your hips pushed slightly forward.
- Hold for 30 seconds. Switch legs. Repeat twice per leg.
Step 3: Hamstring Stretch – The Non-Negotiable
Hamstring tightness is the number one complaint I hear from grassroots players and NRL stars alike. Keeping your hammies loose is key.

What to do:
- Sit on the ground with your right leg straight out in front of you.
- Bend your left leg so the sole of your left foot rests against your right inner thigh.
- Slowly hinge forward from your hips (not your lower back) toward your right foot.
- Keep your back straight—imagine someone is pulling the crown of your head toward the ceiling.
- Hold for 30 seconds. Switch legs. Repeat twice per leg.
Step 4: Hip Flexor Stretch – The Scrum-Half Special
All that running, tackling, and getting low in the defensive line tightens your hip flexors. Keeping these mobile is important for agility.
What to do:
- Kneel on your right knee, with your left foot flat on the floor in front of you, left knee bent at 90 degrees.
- Place both hands on your left thigh for support.
- Gently push your hips forward until you feel a stretch in the front of your right hip and thigh.
- Keep your torso upright—don’t lean forward.
- Hold for 30 seconds. Switch sides. Repeat twice per side.
Step 5: Glute Stretch – The Pigeon Pose
Your glutes power every acceleration, every change of direction, every hit-up. They deserve some love.
What to do:
- Start on all fours.
- Bring your right knee forward toward your right wrist, and place your right ankle near your left wrist.
- Slide your left leg back, keeping it straight.
- Lower your upper body toward the ground, resting on your forearms or forehead.
- Hold for 30–45 seconds. Switch sides. Repeat twice per side.
Step 6: Calf Stretch – The Ankle Protector
Calf tightness leads to Achilles issues and ankle injuries. Don’t skip this.
What to do:
- Stand facing a wall, arms extended, palms flat against the wall.
- Step your right foot back, keeping it straight, with your heel on the ground.
- Bend your left knee and lean forward until you feel a stretch in your right calf.
- Hold for 30 seconds. Switch legs. Repeat twice per leg.
Step 7: Groin Stretch – The Lateral Mover
Side-stepping, changing direction, and spreading for a tackle all demand groin flexibility.
What to do:
- Sit on the ground with the soles of your feet together, knees dropped out to the sides (butterfly position).
- Hold your ankles with your hands.
- Gently press your knees toward the ground using your elbows.
- Keep your back straight and hold for 30 seconds.
- Repeat 2–3 times.
Step 8: Lower Back Stretch – The Spinal Twist
Your lower back absorbs a lot of impact. This stretch releases tension after the game.
What to do:
- Lie on your back with your arms stretched out to the sides (like a T).
- Bend your right knee and cross it over your left leg.
- Gently twist your hips to the left, keeping both shoulders on the ground.
- Turn your head to the right for a deeper stretch.
- Hold for 30 seconds. Switch sides. Repeat twice per side.
Step 9: Chest and Shoulder Opener – The Tackler’s Release
Your chest and shoulders tighten from contact and from the constant forward-reaching motion in tackles.
What to do:
- Stand in a doorway or next to a wall.
- Place your right forearm against the wall at shoulder height, elbow bent at 90 degrees.
- Gently turn your body away from the wall until you feel a stretch in your chest and front shoulder.
- Hold for 30 seconds. Switch sides. Repeat twice per side.
Step 10: Deep Breathing and Relaxation (2 minutes)
This is the step most players skip. Don’t be that player.
What to do:
- Lie flat on your back with your arms by your sides, palms up.
- Close your eyes.
- Breathe in deeply through your nose for 4 seconds.
- Hold for 4 seconds.
- Breathe out slowly through your mouth for 6 seconds.
- Repeat for 2 minutes.
Pro Tips for Better Recovery
- Stretch within 30–60 minutes post-game or training – Your muscles are warmest and most receptive.
- Never stretch cold muscles – Always do a light warm-up or cool-down walk first.
- Breathe through each stretch – Exhale as you deepen the stretch, inhale as you hold.
- Listen to your body – A gentle pull is good. Sharp pain is a stop sign.
- Consistency beats intensity – 10 minutes daily is better than 60 minutes once a week.
- Foam roll before stretching – It loosens knots and makes stretching more effective.
- Hydrate – Dehydrated muscles are tighter and more prone to injury.
Common Mistakes to Avoid
- Bouncing – Ballistic stretching can cause micro-tears. Hold it steady.
- Holding your breath – Your muscles need oxygen to relax.
- Comparing yourself to others – Every body is different. Focus on your own progress.
- Skipping the cool-down – Going from full intensity to zero is a recipe for stiffness.
- Stretching through pain – If it hurts, stop. Modify or skip that stretch.
Checklist Summary
Here’s your quick-reference checklist. Tick these off after every game and training session:
- Cool-down walk – 3–5 minutes of gentle walking
- Quad stretch – 30 seconds each leg, 2 sets
- Hamstring stretch – 30 seconds each leg, 2 sets
- Hip flexor stretch – 30 seconds each side, 2 sets
- Glute stretch (pigeon pose) – 30–45 seconds each side, 2 sets
- Calf stretch – 30 seconds each leg, 2 sets
- Groin stretch (butterfly) – 30 seconds, 2–3 sets
- Lower back twist – 30 seconds each side, 2 sets
- Chest and shoulder opener – 30 seconds each side, 2 sets
- Deep breathing – 2 minutes of slow, controlled breathing
Final Word
Recovery isn’t a luxury—it’s part of your training. The best players in the NRL know that what you do after the final whistle determines how you perform next week.
This routine is simple, effective, and built for real rugby league players. Whether you’re a junior just starting out or a veteran chasing another NRL Premiership, make stretching a non-negotiable part of your week.
Your body will thank you. Your teammates will notice. And those stairs tomorrow morning? They won’t stand a chance.
Want more player development tips? Check out our guides on junior player skills development and injury prevention exercises. And don’t forget to explore our full range of player development and gear resources to keep you at the top of your game.
Up the Chooks!
Reader Comments (0)